
Visual anatomy and physiology leverages pictorial representations – photography, painting, or illustrations – to clarify complex biological structures and functions.
These visualizations, like sonograms or waveforms, aid comprehension, mirroring how data is rendered visually in fields like computer graphics and animation.
Understanding these visual displays, whether a diagram of the heart or a neuron’s structure, is crucial for effective learning and retention in A&P studies.
The Importance of Visual Learning in A&P
Visual learning is paramount in Anatomy & Physiology (A&P) due to the inherent complexity of the subject matter. Traditional text-based learning often struggles to convey the intricate three-dimensional relationships of anatomical structures.
Illustrations, diagrams, and microscopic visualizations – like those found in a dedicated visual anatomy and physiology lab manual – bridge this gap, offering a clearer understanding than words alone. The ability to “see” how things fit together, whether it’s the chambers of the heart or the branching of neural pathways, dramatically improves retention.
Furthermore, graphical representations of physiological processes, such as action potentials or homeostasis feedback loops, transform abstract concepts into tangible, understandable forms. This is akin to “audiolizing” – finding an auditory equivalent to visual rendering – allowing students to internalize dynamic processes.
The use of visuals isn’t merely about aesthetics; it’s about cognitive efficiency, enabling students to grasp and recall information more effectively, mirroring the data visualization techniques used in fields like ACM Siggraph.
Historical Development of Anatomical Illustration
The history of anatomical illustration is a fascinating journey mirroring advancements in scientific understanding. Early attempts, often constrained by religious or societal limitations, focused on idealized forms rather than precise depictions.
The Renaissance marked a turning point, with artists like Leonardo da Vinci undertaking detailed dissections and creating remarkably accurate drawings. These illustrations weren’t simply artistic endeavors; they were crucial for disseminating knowledge, forming the basis of early visual anatomy and physiology resources.
Over centuries, techniques evolved from hand-drawn renderings to increasingly sophisticated methods, including engraving, lithography, and eventually, full-color photography and digital imaging. A modern visual anatomy and physiology lab manual builds upon this legacy, utilizing cutting-edge technology to present anatomical structures with unprecedented clarity.
These historical illustrations, and their modern counterparts, serve as more than just pictures; they are windows into the human body, enabling exploration and understanding, much like a sonogram reveals internal structures.
Body Organization & Basic Anatomical Terminology
Visual anatomy and physiology relies on understanding hierarchical organization, from cells to systems, alongside precise directional terms for accurate description and spatial awareness.
Levels of Structural Organization
Understanding the levels of structural organization is fundamental in visual anatomy and physiology. This hierarchical arrangement begins with chemicals – atoms and molecules – forming the building blocks of life.
These chemicals organize into cells, the basic structural and functional units of the body. Similar cells combine to create tissues, such as epithelial or connective tissue, each with specialized functions.
Organs are formed by different tissue types working together, like the heart or stomach. Finally, organ systems consist of multiple organs cooperating for a common purpose, such as the cardiovascular or digestive system.
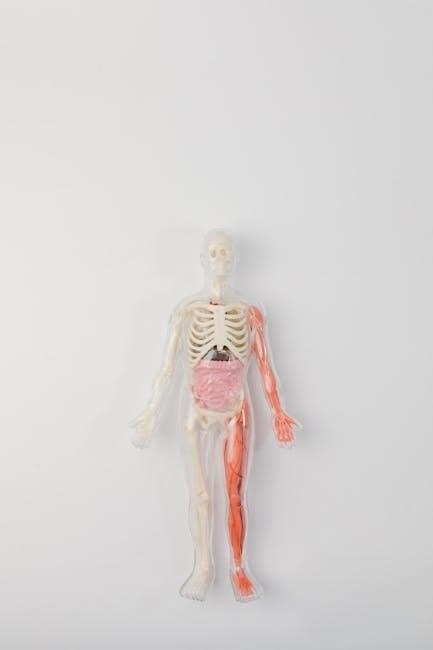
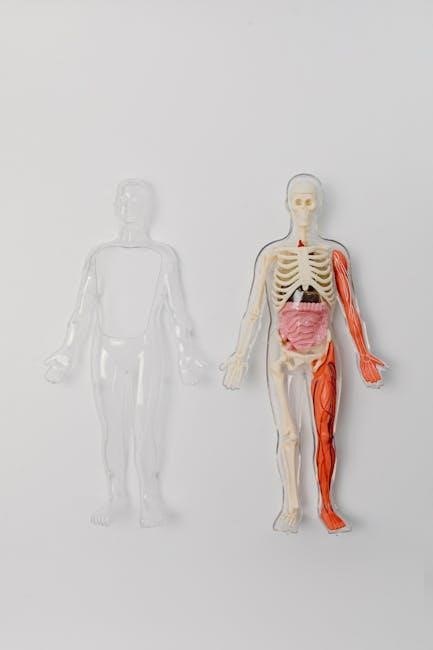
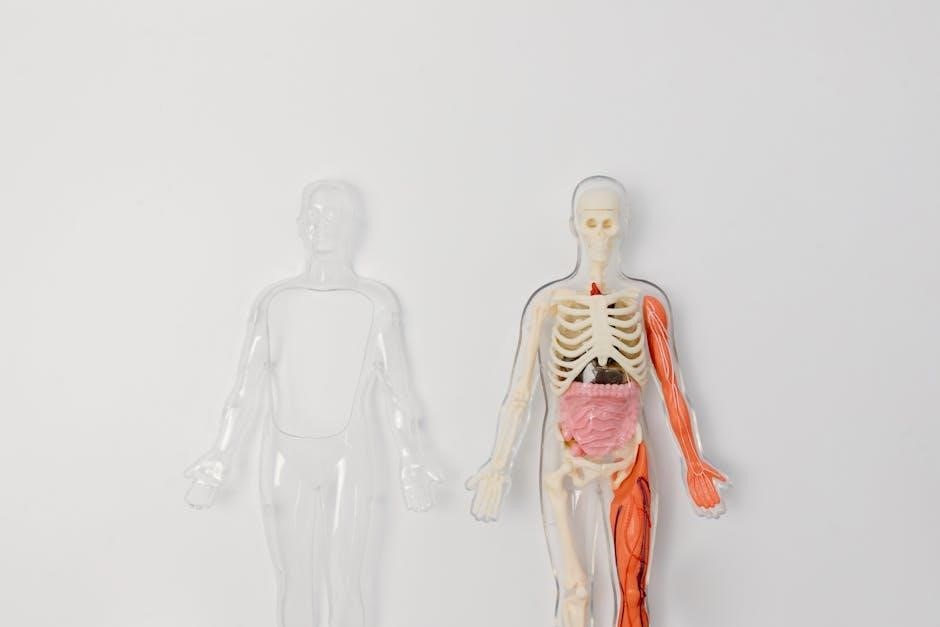
Visual aids, like diagrams and illustrations, are crucial for grasping these levels. For example, a microscopic image can demonstrate cellular structures within a tissue sample, while a full-body diagram illustrates organ system interactions. This progressive organization, visualized effectively, provides a framework for comprehending the body’s complexity.
Anatomical Position & Directional Terms (Visual Guide)
The anatomical position serves as a universal reference point: standing erect, feet slightly apart, palms facing forward, and eyes looking ahead. This standardized posture is crucial for accurately describing anatomical structures and relationships.
Directional terms, visualized with clear diagrams, define locations relative to this position. Superior means towards the head, while inferior indicates towards the feet. Anterior (ventral) refers to the front, and posterior (dorsal) to the back.
Medial describes structures closer to the midline, and lateral those further away. Proximal and distal are used for limbs, indicating closeness to or distance from the point of attachment.
A visual guide – a labeled diagram – is essential for mastering these terms. Understanding these directional cues allows for precise communication about anatomical locations, vital for accurate dissection and clinical descriptions. Consistent application of these terms ensures clarity and avoids ambiguity.

Cellular Level of Organization
Cells, the basic units of life, are best understood through visualizations – microscopy images and diagrams – revealing intricate structures and functions.
These visual aids demonstrate cellular components and their roles.
Cell Structure: A Visual Breakdown
Understanding cell structure requires detailed visual exploration. A comprehensive lab manual utilizes diagrams and micrographs to dissect the cell’s components. Begin with the plasma membrane, visualized as a phospholipid bilayer with embedded proteins – crucial for selective permeability.
Next, examine the nucleus, often depicted with its nuclear envelope, nucleolus, and chromatin. Visual representations clarify the organization of DNA. Cytoplasm, the gel-like substance, houses organelles like mitochondria – powerhouses shown with their characteristic cristae – and ribosomes, depicted as sites of protein synthesis.
The endoplasmic reticulum (ER), both smooth and rough, is best understood through visuals highlighting its role in lipid and protein production. The Golgi apparatus, visualized as stacked cisternae, demonstrates protein processing and packaging. Lysosomes, containing digestive enzymes, are shown breaking down cellular waste. Finally, explore the cytoskeleton – microtubules, intermediate filaments, and microfilaments – providing structural support, clearly illustrated in diagrams.
These visual breakdowns are essential for grasping the intricate relationship between structure and function at the cellular level.

Types of Tissues: Microscopic Visualizations
A visual anatomy and physiology lab manual heavily relies on microscopic visualizations to differentiate tissue types. Epithelial tissue is presented with images showcasing its varying arrangements – squamous, cuboidal, and columnar – and functions like protection and secretion.
Connective tissue requires visual identification of its diverse subtypes: connective tissue proper (loose and dense), cartilage (hyaline, elastic, fibrocartilage), bone, and blood. Micrographs reveal the matrix composition and cellular characteristics of each.
Muscle tissue is best understood through visualizing its contractile properties. Skeletal muscle shows striations and multinucleated fibers, smooth muscle lacks striations, and cardiac muscle exhibits intercalated discs.
Nervous tissue is explored through visuals of neurons and glial cells. Diagrams illustrate neuron structure – dendrites, cell body, axon – and synapses, highlighting signal transmission. These microscopic views are paramount for accurate tissue classification and functional understanding.

Tissue Level of Organization
Visual anatomy and physiology lab manuals utilize micrographs to demonstrate tissue characteristics, aiding in the identification of epithelial, connective, muscle, and nervous tissues.
These visual representations are essential for understanding tissue structure and correlating it with specific functions within the body.
Epithelial Tissue: Visual Characteristics & Functions
Visual anatomy and physiology lab manuals heavily rely on microscopic visualizations to illustrate the diverse world of epithelial tissues. These tissues, covering surfaces and lining cavities, are categorized by both their shape – squamous, cuboidal, and columnar – and their arrangement – simple, stratified, and pseudostratified.
Lab exercises often involve identifying these characteristics under the microscope, noting features like cell nuclei position, presence of cilia, and the thickness of the tissue layer. Diagrams and color-coded images are crucial for distinguishing between types. For example, simple squamous epithelium appears as a single layer of flattened cells, ideal for diffusion, while stratified squamous epithelium, with multiple layers, provides protection against abrasion.
Understanding the visual correlation between structure and function is paramount. The manual will demonstrate how the shape and layering of epithelial tissue directly relate to its role in protection, secretion, absorption, and filtration. Clear illustrations and detailed descriptions are provided to facilitate accurate identification and functional understanding.
Connective Tissue: Identifying Types Visually
Visual anatomy and physiology lab manuals emphasize recognizing connective tissues through microscopic observation, as their appearance varies greatly. These tissues – including connective tissue proper, cartilage, bone, and blood – are characterized by cells scattered within an extracellular matrix.
Lab exercises focus on identifying key features like fiber types (collagen, elastic, reticular) and matrix consistency. For instance, dense regular connective tissue, like tendons, displays parallel collagen fibers, while hyaline cartilage exhibits a glassy, smooth matrix. Blood, a fluid connective tissue, is easily identified by its cellular components.
The manual utilizes high-quality images and diagrams to highlight these distinctions. Students learn to differentiate between adipose tissue’s large, empty cells and the tightly packed fibers of dense irregular connective tissue. Understanding the visual relationship between structure and function – support, protection, binding, and transport – is crucial for mastering connective tissue identification.
Muscle Tissue: Visualizing Contraction & Types
Visual anatomy and physiology lab manuals utilize diagrams and micrographs to illustrate the three muscle tissue types: skeletal, smooth, and cardiac. Key visual features include striations (present in skeletal and cardiac), cell shape (elongated in skeletal, spindle-shaped in smooth), and the presence of multiple nuclei (skeletal).
Understanding muscle contraction requires visualizing the sliding filament model. Manuals often include animated diagrams showing actin and myosin interactions. Lab exercises involve identifying these structures under a microscope.
Cardiac muscle is distinguished by intercalated discs, visually apparent as dark lines between cells. Smooth muscle lacks striations and is found in the walls of internal organs. The manual emphasizes correlating visual characteristics with functional roles – voluntary movement (skeletal), involuntary contractions (smooth and cardiac).
Students learn to interpret how structure dictates function.
Nervous Tissue: Neuron Structure & Synapses (Visuals)
Visual anatomy and physiology lab manuals heavily rely on detailed diagrams to depict neuron structure – the cell body, dendrites, axon, and myelin sheath. Micrographs showcase neurons from different regions of the nervous system. Key visuals include the identification of neuroglia (supporting cells) and their roles.
Understanding synaptic transmission requires visualizing the synapse – the junction between neurons. Manuals present diagrams illustrating neurotransmitter release, receptor binding, and signal propagation. Lab exercises involve identifying synaptic structures under a microscope.
Visual representations of action potentials, often graphical, demonstrate depolarization and repolarization. The manual correlates structure with function, emphasizing how neuron morphology supports rapid communication. Students learn to interpret neural pathways and understand the flow of information.
These visual aids are essential for grasping complex neurological processes.
Organ Level of Organization
Visual anatomy and physiology lab manuals utilize detailed illustrations and dissections to showcase organ structures and their interrelationships within body systems.
These visuals aid in understanding how tissues combine to perform specific functions, crucial for comprehensive anatomical study.
The Integumentary System: Visual Layers & Appendages
Visual anatomy and physiology lab manuals dedicate significant attention to the integumentary system, employing detailed diagrams and micrographs to illustrate its layered structure.
These visualizations clearly delineate the epidermis, dermis, and hypodermis, highlighting key features like keratinization, dermal papillae, and subcutaneous fat.
Furthermore, the manuals showcase visual representations of skin appendages – hair follicles, sebaceous glands, sweat glands, and nails – emphasizing their microscopic anatomy and functional roles.
Color-coded illustrations and labeled diagrams aid in identifying different cell types within each layer, such as melanocytes, keratinocytes, and fibroblasts.
Interactive exercises often involve identifying structures on histological slides, reinforcing the connection between visual anatomy and microscopic observation.
The manuals also present visualizations of skin conditions and pathologies, like burns or skin cancer, to demonstrate how structural alterations correlate with functional impairments.
Skeletal System: Bone Structure & Articulations (Illustrations)
Visual anatomy and physiology lab manuals utilize extensive illustrations to dissect the skeletal system, beginning with detailed depictions of bone structure – compact and spongy bone, periosteum, and marrow cavities.
These visualizations emphasize microscopic features like osteons and canaliculi, aiding comprehension of bone remodeling and calcium homeostasis;
A core component involves visualizing different bone classifications (long, short, flat, irregular) and their corresponding anatomical landmarks.
Furthermore, manuals present comprehensive illustrations of various articulations – fibrous, cartilaginous, and synovial – showcasing their structural components and range of motion.
Labeled diagrams clearly identify ligaments, tendons, and joint capsules, while visual representations of specific joint types (hinge, ball-and-socket) demonstrate biomechanical principles.
Interactive exercises often require students to identify bones and articulations on skeletal models or radiographs, bridging the gap between visual anatomy and clinical application.

Organ Systems – Visual Overviews
Visual anatomy and physiology lab manuals employ diagrams and maps to showcase interconnected organ systems, emphasizing their collective function and anatomical relationships.
These visualizations clarify complex pathways.
Cardiovascular System: Heart & Vessels (Diagrams)
Visual anatomy and physiology lab manuals dedicate significant attention to the cardiovascular system, utilizing detailed diagrams to illustrate the heart’s intricate chambers, valves, and major vessels.
These diagrams aren’t merely static images; they often incorporate color-coding to differentiate oxygenated and deoxygenated blood flow, enhancing understanding of pulmonary and systemic circulation.
Illustrations of the heart’s conduction system – the sinoatrial node, atrioventricular node, and Purkinje fibers – are crucial for visualizing the electrical impulses that drive cardiac contraction.
Furthermore, visual representations extend to the vascular network, showcasing the hierarchical arrangement of arteries, veins, and capillaries.
Cross-sectional diagrams reveal the layered structure of blood vessel walls, highlighting the roles of each layer in maintaining vessel integrity and regulating blood pressure.
The lab manuals often include visualizations of common cardiovascular pathologies, such as atherosclerosis or aneurysms, to aid in disease recognition.
These visual aids are essential for grasping the complex interplay between structure and function within this vital organ system.
Respiratory System: Lung Anatomy & Gas Exchange (Visuals)
Visual anatomy and physiology lab manuals employ a variety of visuals to dissect the respiratory system, starting with detailed diagrams of the nasal cavity, pharynx, larynx, trachea, and bronchial tree.
Illustrations of the lungs showcase the lobar structure, highlighting the differences between the left and right lungs, and the pleural membranes surrounding them.
Microscopic visualizations of alveolar structure are critical, demonstrating the thin-walled air sacs where gas exchange occurs.
Diagrams illustrating the process of gas exchange – oxygen moving into the blood and carbon dioxide moving out – are often presented alongside graphical representations of partial pressure gradients.
Visual aids depict the mechanics of breathing, showcasing the role of the diaphragm and intercostal muscles in expanding and contracting the thoracic cavity.
Lab manuals frequently include visualizations of lung volumes and capacities, such as tidal volume and vital capacity, often presented as spirogram waveforms.
These visual representations are essential for understanding the intricate relationship between structure and function in facilitating efficient respiration.
Digestive System: Organ Arrangement & Histology (Illustrations)
Visual anatomy and physiology lab manuals utilize detailed illustrations to map the digestive system’s organ arrangement, beginning with the oral cavity and extending through the esophagus, stomach, small intestine, large intestine, and rectum.
Diagrams showcase the stomach’s layered structure and the small intestine’s villi and microvilli, emphasizing surface area maximization for nutrient absorption.
Histological visualizations are crucial, depicting the distinct tissue layers – mucosa, submucosa, muscularis externa, and serosa – in each organ.
Illustrations highlight specialized cells like goblet cells and enteroendocrine cells, explaining their roles in secretion and hormone production.
Visual aids demonstrate the liver, gallbladder, and pancreas’s relationship to the digestive tract, showcasing bile and pancreatic juice secretion.
Lab manuals often include visualizations of digestive processes, like peristalsis and segmentation, illustrating mechanical breakdown and propulsion.
These visual representations are essential for understanding the complex interplay between organ structure, histology, and digestive function.
Nervous System: Brain Regions & Neural Pathways (Visual Maps)
Visual anatomy and physiology lab manuals employ detailed visual maps to navigate the intricate landscape of the nervous system, focusing on brain regions and neural pathways.
Illustrations delineate the cerebrum’s lobes – frontal, parietal, temporal, and occipital – highlighting functional specialization and cortical areas.
Visualizations trace major pathways like the corticospinal tract, demonstrating motor control, and the spinothalamic tract, illustrating sensory transmission.
Diagrams showcase the brainstem’s components – midbrain, pons, and medulla oblongata – and their roles in vital functions like breathing and heart rate.
Visual maps depict the cerebellum’s structure and its involvement in coordination and balance.
Lab manuals utilize color-coding and annotations to clarify complex neural circuits and synaptic connections, akin to rendering data in computer graphics.
These visual representations are crucial for understanding how the nervous system integrates information and orchestrates bodily functions.

Visualizing Physiological Processes
Visual anatomy and physiology lab manuals utilize graphical representations – like feedback loops and action potential graphs – to demonstrate dynamic bodily functions.
These visualizations clarify complex processes, mirroring data rendering techniques used in fields like computer animation and signal processing.
Homeostasis: Visual Feedback Loops
Visual anatomy and physiology lab manuals frequently employ diagrams to illustrate the concept of homeostasis, emphasizing the body’s dynamic equilibrium.
These visual feedback loops – often depicted as flowcharts – demonstrate how the body responds to internal and external changes to maintain stable conditions.
Negative feedback loops, crucial for temperature regulation and blood glucose control, are clearly visualized, showing the initial stimulus, receptor activation, control center processing, and effector response.
Positive feedback loops, though less common, are also illustrated, such as in blood clotting or childbirth, highlighting their amplifying effect.
The visual representation allows students to trace the sequence of events, understanding how deviations from the set point trigger corrective mechanisms.
Such diagrams often incorporate elements of signal transduction and hormonal control, providing a comprehensive overview of regulatory pathways.

Understanding these visualizations is key to grasping the intricate interplay of physiological systems and their contribution to overall health.
These loops are akin to data rendering, showcasing dynamic processes.
Action Potentials: Graphical Representation & Propagation
Visual anatomy and physiology lab manuals dedicate significant space to illustrating action potentials, the fundamental signals of the nervous system.
These are typically represented as graphical waveforms, charting changes in membrane potential over time, showcasing depolarization, repolarization, and hyperpolarization phases.
Students learn to identify key components like the resting membrane potential, threshold potential, and the rising and falling phases of the action potential.
Visualizations also demonstrate the propagation of action potentials along the axon, including saltatory conduction in myelinated neurons.
Diagrams illustrate the roles of voltage-gated ion channels – sodium and potassium – in generating and propagating the signal.
The graphical representation is often paired with illustrations of ion flow across the membrane, solidifying understanding.
These depictions are similar to displaying a sound wave as a sonogram, offering a visual equivalent of an electrical event.
Understanding these visuals is crucial for comprehending neural communication and its impact on bodily functions.


Leave a Reply
You must be logged in to post a comment.